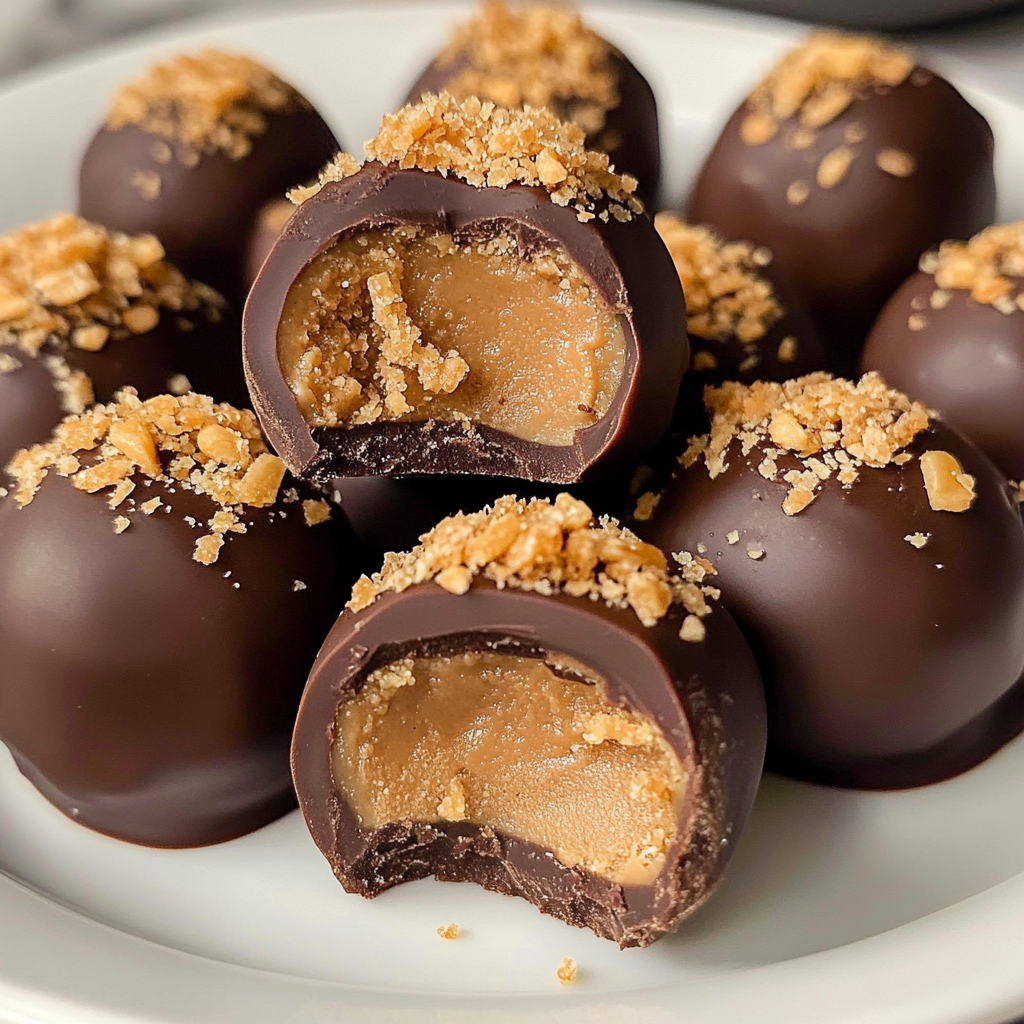
Every holiday season, my kitchen turns into a candy-making workshop, and these Butterfinger Balls are always the first treat to disappear from the cookie tray. With just a handful of ingredients and no baking required, these creamy, crunchy, chocolate-covered bites taste just like the famous candy bar but are surprisingly simple to make at home.
Prep Time: 30 minutes
Chill Time: 1 hour
Total Time: 1 hour 30 minutes
Yield: 24-30 balls
Calories: 145 per ball
Why You’ll Love This Recipe
These no-bake Butterfinger Balls are perfect for holiday gift-giving, party platters, or simply satisfying your candy bar cravings. They combine the irresistible flavors of peanut butter and chocolate with a satisfying crunch, and they’re so easy that even kids can help make them. Plus, they can be made ahead and stored in the freezer for whenever you need a sweet treat.
Ingredients & Equipment
For the Filling:
- 1 (16 oz) jar creamy peanut butter
- 3 cups crushed Butterfinger candy bars (about 12 fun-size bars)
- 3 cups powdered sugar
- ¼ cup butter, softened
- 1 teaspoon vanilla extract
For the Coating:
- 16 oz chocolate melting wafers (milk or dark chocolate)
- 2 tablespoons vegetable shortening
- Additional crushed Butterfingers for garnish (optional)
Equipment Needed:
- Large mixing bowl
- Electric mixer (hand or stand)
- Baking sheets
- Parchment paper
- Food processor or rolling pin (for crushing candy)
- Small cookie scoop or tablespoon
- Double boiler or microwave-safe bowl
- Fork or dipping tools
- Measuring cups and spoons
Step-by-Step Instructions
Prepare the Filling
- Crush Butterfinger bars into fine crumbs
- Use food processor for best results
- Or place in zip-top bag and crush with rolling pin
- In a large bowl, combine:
- Peanut butter
- Softened butter
- Vanilla extract
- Beat until smooth
- Gradually mix in powdered sugar
- Fold in crushed Butterfingers
Form the Balls
- Line baking sheets with parchment paper
- Scoop mixture using cookie scoop or tablespoon
- Roll into 1-inch balls
- Place on prepared baking sheets
- Chill for 30 minutes
Prepare the Chocolate Coating
- Melt chocolate wafers and shortening:
- Double boiler method: Heat over simmering water
- Microwave method: 30-second intervals, stirring between
- Stir until completely smooth
Dip and Decorate
- Remove balls from refrigerator
- Dip each ball in melted chocolate
- Tap off excess chocolate
- Place on parchment paper
- Sprinkle with additional crushed Butterfingers if desired
- Chill until set (about 30 minutes)

Expert Tips for Success
- Temperature Matters: Keep the peanut butter mixture chilled while working. If it becomes too soft, return to refrigerator for 15 minutes.
- Perfect Coating: Add shortening to the chocolate – it helps create a smoother coating that sets properly and prevents blooming.
- Clean Dipping: Use a fork or specialized dipping tools to maintain a neat appearance. Tap off excess chocolate gently but thoroughly.
Variations and Substitutions
- Chocolate Options:
- Try white chocolate coating
- Use dark chocolate for less sweetness
- Drizzle with contrasting chocolate
- Peanut Butter Choices:
- Crunchy peanut butter for extra texture
- Natural peanut butter (may need more powdered sugar)
- Coating Add-ins:
- Crushed peanuts
- Toffee bits
- Orange zest
Storage Instructions
- Room Temperature: 3-4 days in airtight container
- Refrigerator: Up to 2 weeks
- Freezer: Up to 3 months
- Store between layers of wax paper to prevent sticking
Troubleshooting Guide
Problem: Mixture too sticky
Solution:
- Add more powdered sugar gradually
- Chill mixture longer
- Dust hands with powdered sugar while rolling
Problem: Chocolate coating too thick
Solution:
- Add more shortening
- Keep chocolate warm while dipping
- Tap off excess more thoroughly
Problem: Chocolate not setting properly
Solution:
- Ensure proper chocolate-to-shortening ratio
- Check room temperature isn’t too warm
- Allow sufficient chilling time
FAQs
Q: Can I use chocolate chips instead of melting wafers?
A: While possible, melting wafers are recommended as they’re formulated for smoother melting and better setting.
Q: How do I prevent the balls from flattening on the bottom?
A: Place them on a cold surface while coating, and rotate them slightly as they set.
Q: Can I make these ahead for gifts?
A: Yes! They freeze beautifully for up to 3 months. Thaw in the refrigerator before gifting.
Q: Why did my chocolate seize?
A: This usually happens if water gets into the chocolate. Make sure all utensils are completely dry.
These Easy Butterfinger Balls are more than just a treat – they’re a crowd-pleasing addition to any dessert table and make wonderful gifts. Their simple preparation and irresistible taste make them perfect for both novice and experienced candy makers. Whether you’re making them for a special occasion or just because, these little bites of happiness are sure to become a favorite in your recipe collection.